headphones AirPods Pro they have sensors smart enough to determine if headphone plugs they are suitable for the user's ear, if they require cleaning or if they were not fixed well in the ear. In this tutorial you will see how you can set the headphones AirPods Pro. Adjust or Try a Different Ear Tip.
If I didn't get to by mistake “Ear Tip Fit Test“ I didn't even realize that it was one of the castles AirPods Pro has a problem that needs attention.
Before we show how to fix the error AirPods Pro: “Adjust or Try a Different Ear Tip“, let's see how we can reach the test for sound quality and noise cancellation.
Table of Contents
How we test headphones AirPods Pro / Ear Type Fit Test
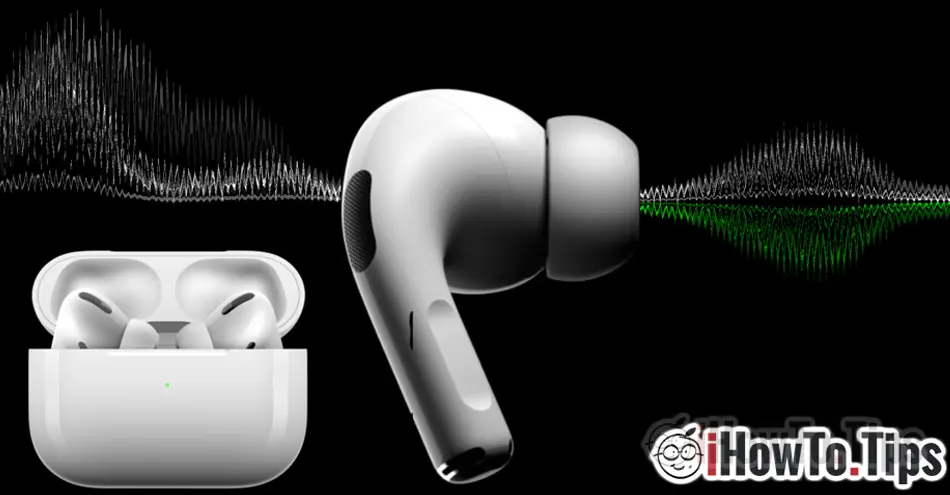
Having a very efficient external sound fading system (noise cancellation) It is very important to choose the right ear tips for your ears. AirPods Pro come in a package with three sets of silicone plugs of different sizes. Large, medium (those on headphones) and small.
How to change the plugs AirPods Pro (Ear Tips)
Before you do sound quality test AirPods Pro, choose the most suitable plugs, then put the headphones in your ears, connected to the iPhone.
If you are wondering how to change the plugs AirPods Pro, the answer is very simple. Grasp the silicone plug at the base (harder area) with your fingers, then pull. The new plug (ear type) is fixed by pressing, following the guide slot. A click is heard when the silicone plug is fixed on the earbud.

Ear Type Fit Test
The test identifies if I chose the most appropriate plug and if each headset is securely attached to the ear.
- Listen to received text messages and how you can send text messages with AirPods
- How do you activate? Adaptive Transparency on AirPods Pro 1
- How to remove AirPods from Apple ID? Mandatory if we sell them or give them to someone else
With the headphones connected to the iPhone, we go to: “Settings” → “Bluetooth“ → I clicked on the sign “i“ blue next to the earbuds AirPods → “Ear Tip Fit Test“.
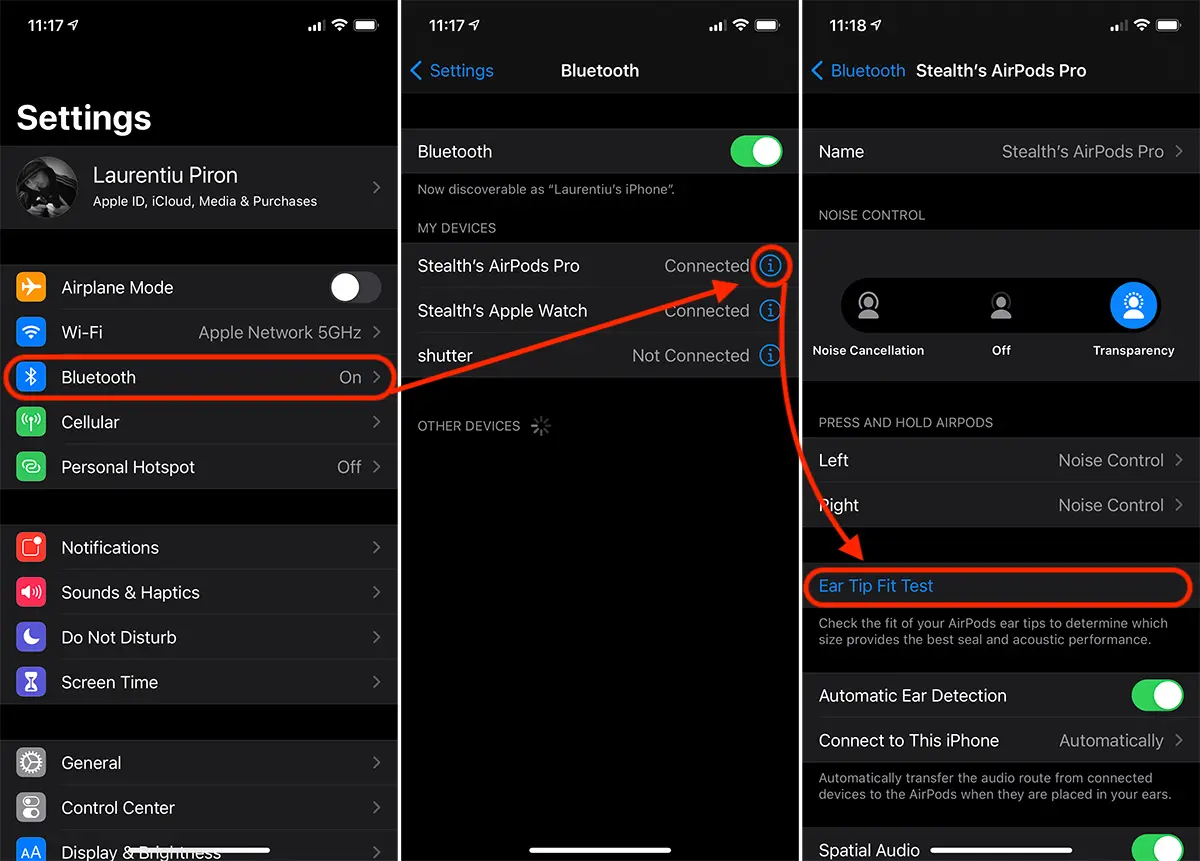
test AirPods Pro will be done with low frequency sounds and loud bass, and the fade of external sounds (Noise Cancellation) will be activated automatically, to eliminate any sound other than the one played during the test.
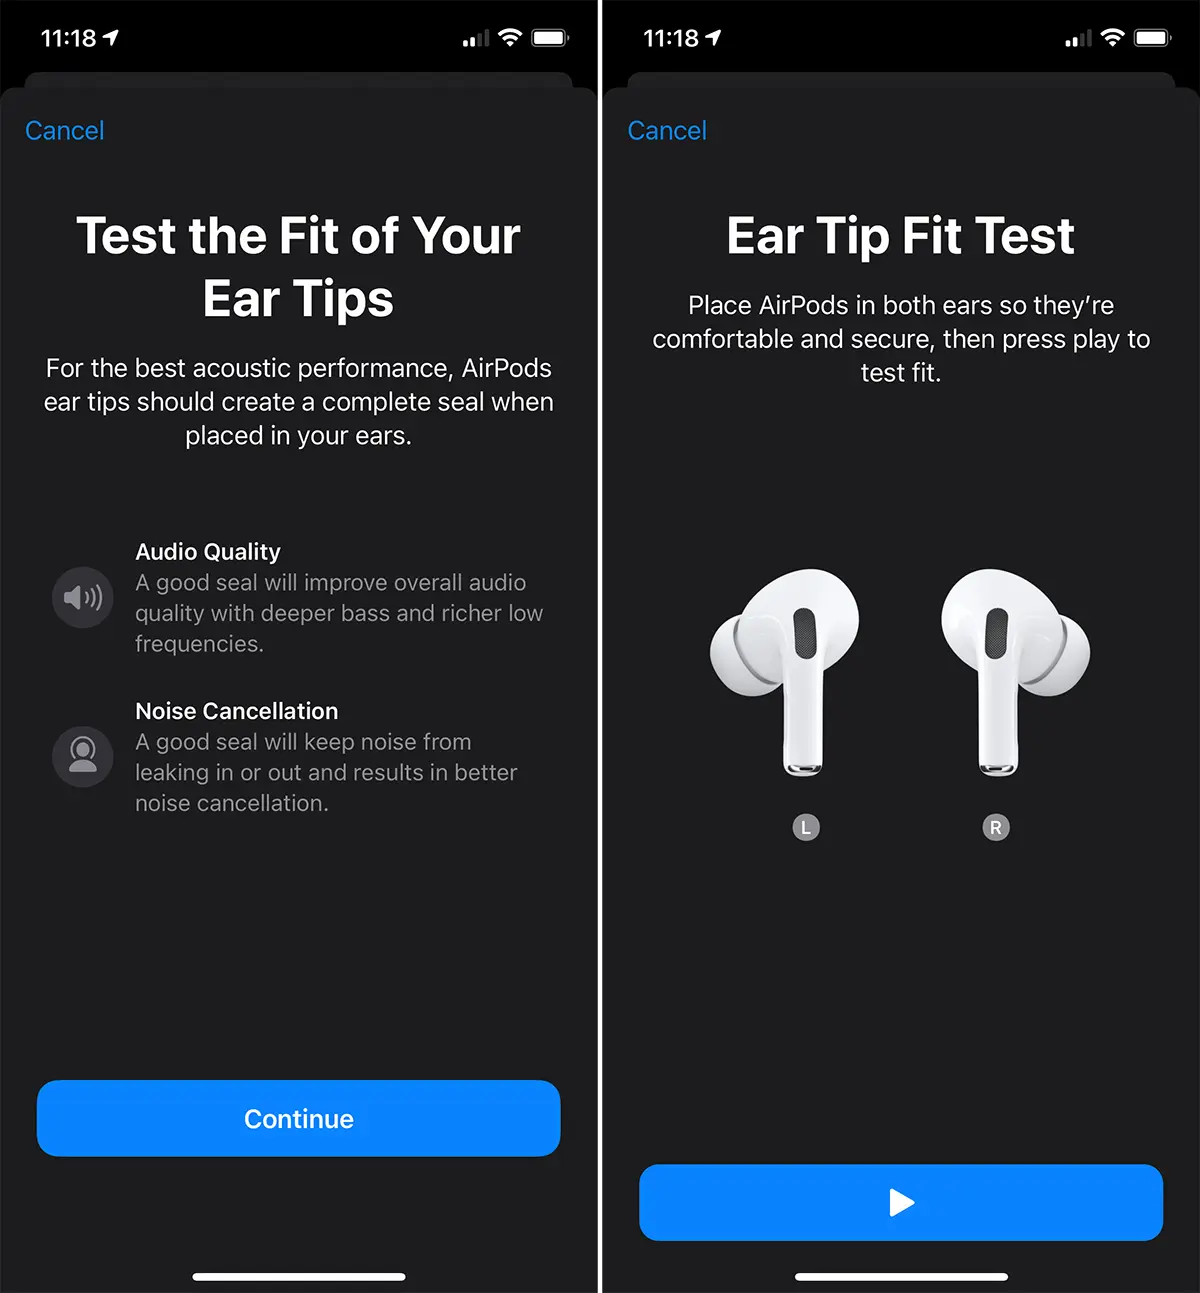
Make sure both headphones are securely attached to the ears, then press the play button for testing.
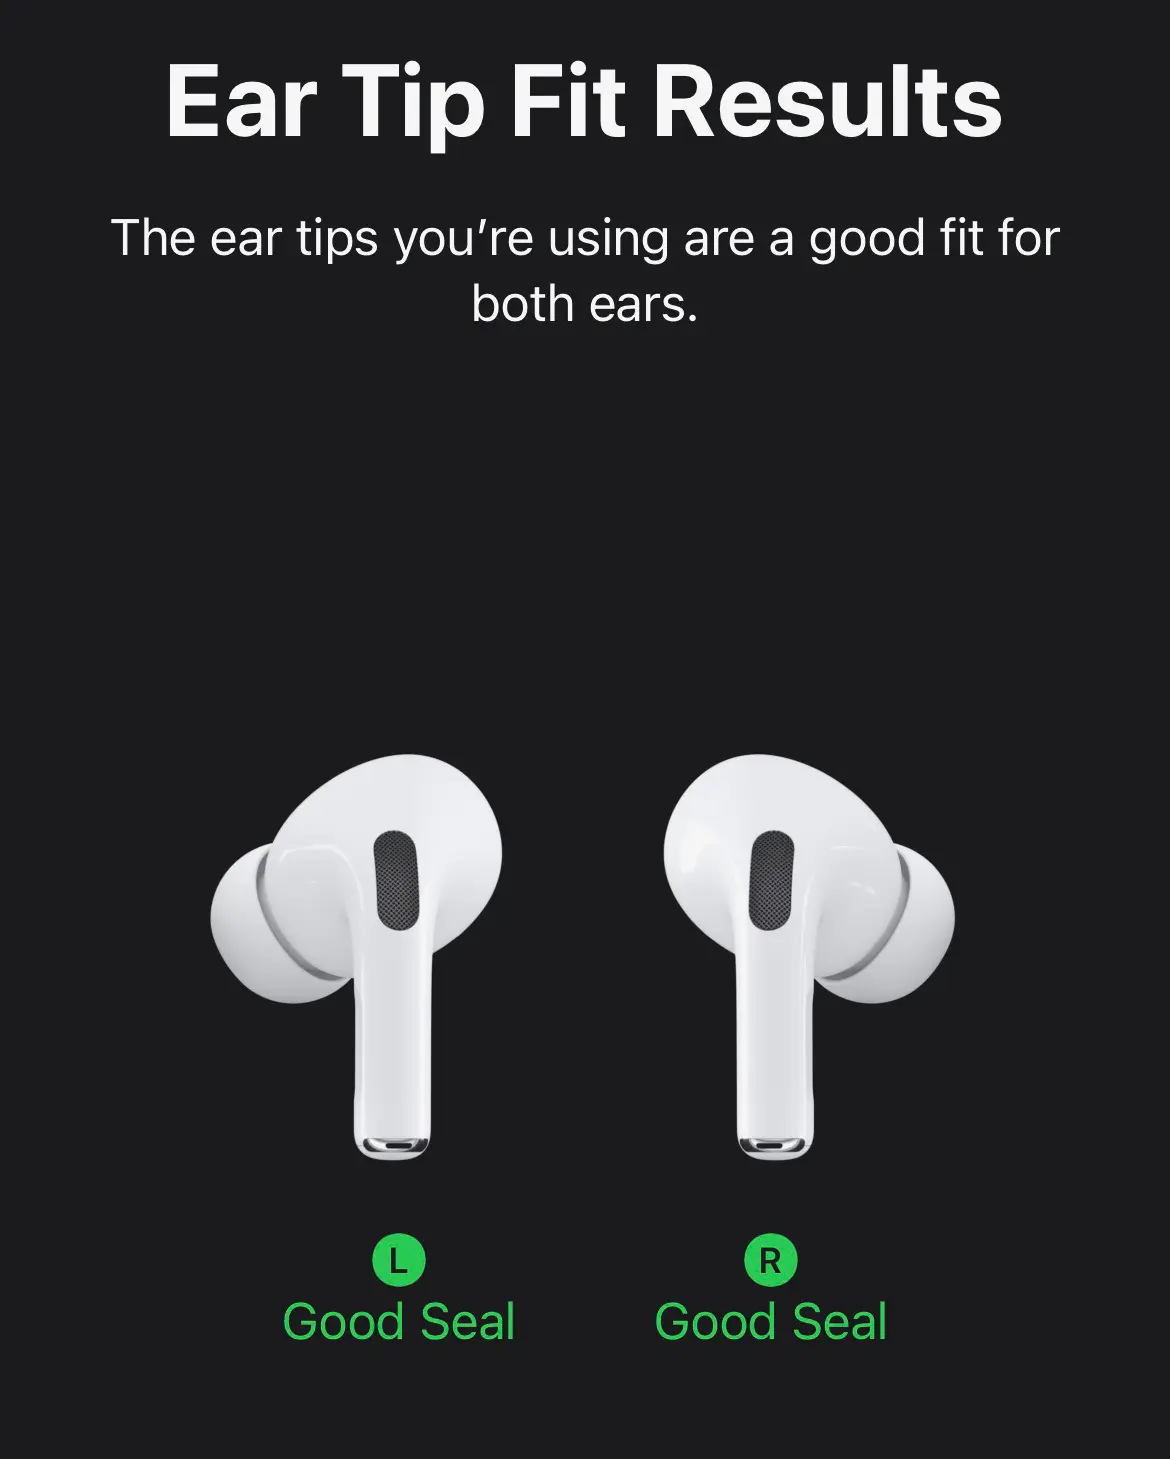
After completing the test sound, at the end you will receive a result that will indicate if you have the best plugs installed on the headphones or if they need to be replaced with other plugs of other sizes.
For both the left and the right earbud, the result must be "Good Seal" / green.
But it often happens that the result of this test indicates the problem for one of the headphones AirPods Pro or for both at the same time.
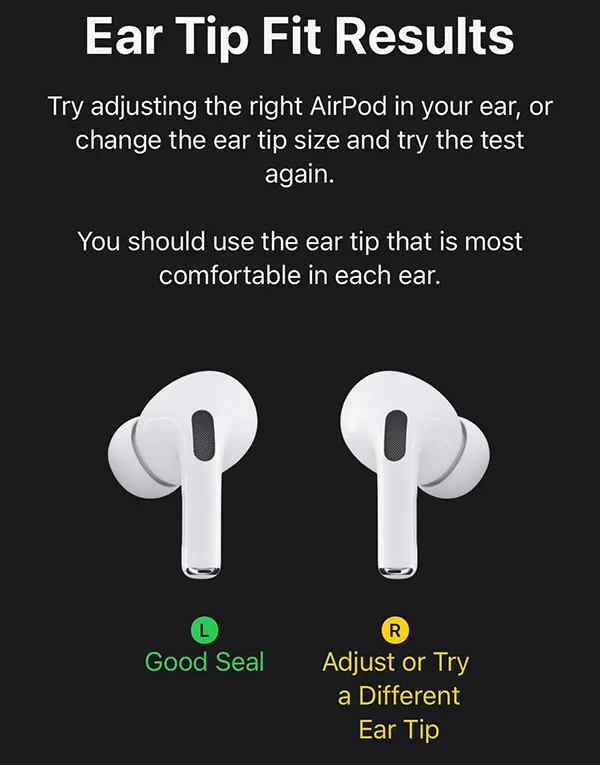
How to solve the error AirPods Pro Ear Type Fit Results: Adjust or Try a Different Ear Tip
Causes for "Adjust or Try a Different Ear Tip”Can be multiple. So are the solutions.
1. Remove both headphones from the ears, put them in the charging case, then remove them and put them back on. Repeat the test.
2. If the result is the same, clean both headphones, using a slightly damp cloth made of soft material. Carefully clean both the plug and the surface of the headphone under the plug and the outer microphone. Repeat the test.
3. Replace the headphone plug at which error occurs "Adjust or Try a Different Ear Tip“. Try another one.
4. Make sure you don't go under water with headphones AirPods Pro or you didn't walk in the rain. This error can also occur due to the presence of water inside the earbud.
If none of the above methods worked, you most likely need to do one total reset a AirPods Pro.

